Opening Your Mind to Embellishments- the Making of a Halloween Bracelet
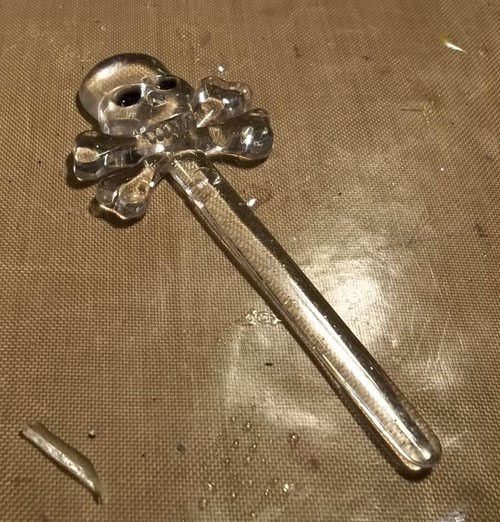
Halloween is my favorite time of the year. When this season rolls around I look at all the goodies with a wide open mind. Suddenly a skull toothpick becomes an awesome pendant or even better....Halloween skull and bones candy become little beads and embellishments.
Step one- Rid your mind of any preconceived notions of what you are looking for. Let what you find design the project. I look in the cheap Halloween candy section, aka the dollar store.
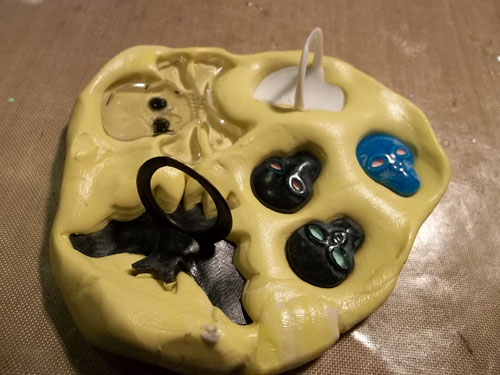
Find some fun Halloween candy and cast a mold using Amazing Mold Putty.
Step one- Rid your mind of any preconceived notions of what you are looking for. Let what you find design the project. I look in the cheap Halloween candy section, aka the dollar store.
Find some fun Halloween candy and cast a mold using Amazing Mold Putty.
I found a bag of skull and bones candy, plastic spider, bat and skull rings, tombstone box of candy and at Michael's found some awesome plastic skull and crossbones toothpicks.
Well first of all I make a mold of everything! Anything in the way of the cast, I break off, like the toothpick stem.
Cast a lot too. Why would you cast just one bone candy when you can cast the whole bag?
Then after all your embellishments are cast and poured start thinking about what to make. I love Rub-n-buff so I immediately add some silver! Wow, it really brings it to life!
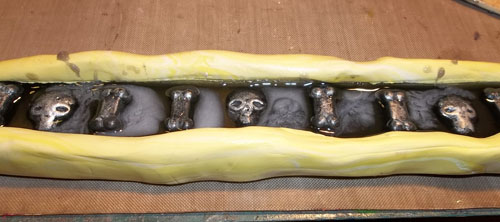
I wanted to make a bracelet with the bones in it. BUT my bracelet mold was too thin for the bones to fit inside. So rather than drive back to the craft store, I thought I would cast my own mold.
To do this I grab something the width that I wanted... a large fingernail file. It was a little too long, but no problem, I just snipped it off with some scissors. I had a cuff bracelet handy (it already had stuff glued to it or I would as used it as my mold), so I just rolled it along the top of the file to get the right length.
FYI, The file was only 1/2 inch too long!
So I cast a mold of the file~ when it was ready to use I mixed up my resin (added a little black dye) and poured a thin layer in the mold. I then placed inside my bones and tiny skulls and then filled it up some more with resin. I was using the Casting Resin not the Clear Cast so I didn't cover all the way over the embellishments.
I don't seem to have a lot of patience for Clear Cast. I did attempt one bracelet and I like the look, so I may try another. I just love the immediate gratification with Casting Resin.
After letting the resin set for about 30 minutes, I removed from the mold and curve it into the cuff shape. You want to do this before it completely sets up.
Using painters tape, I secure the bracelet so it can set up further in this shape.
Finally, I add some rub-n-buff to the bracelet and it is ready to go!
I also store the bracelet inside a glass for the first few days, just to make sure that it is completely set up.
P.S. Here is how the clear looked.


Comments