BoHo Chic DIY Dream Catcher with resin and stencils
Welcome to day 3 of this week's blog hop with StencilGirl Products and Amazing Casting Products!
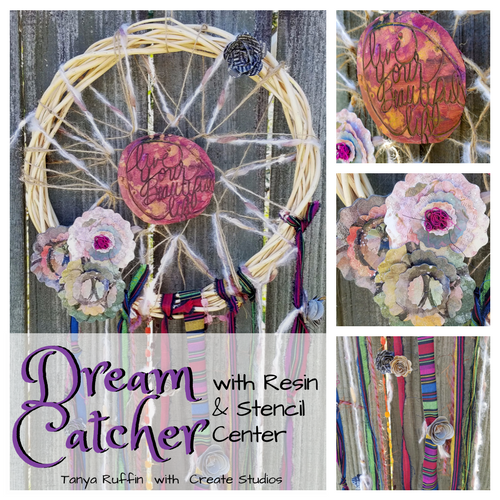
For this project I used a StencilGirl stencil, Amazing Casting Resin, yarn, dollar store wreath and made an awesome Dream Catcher.
- Mix resin- either clear or white resin. You can add dye or powders.
- For this project I used white resin and copper metallic powder.
- Mix resin and add any colorant. I added the copper powder. A little goes a long way!
- Pour resin on a non stick surface.
- Using a craft stick move the resin on the non stick surface until it is a thin layer.
- Let resin set up a few minutes, then press the stencil into the resin.
- I used this stencil.
You only want the stencil to sit on TOP of the resin. Do not press it in so hard that the stencil is buried and then covered by the resin.... - Let the resin cure with stencil still in place. It is kind of hard to see but the stencil is still in the resin...
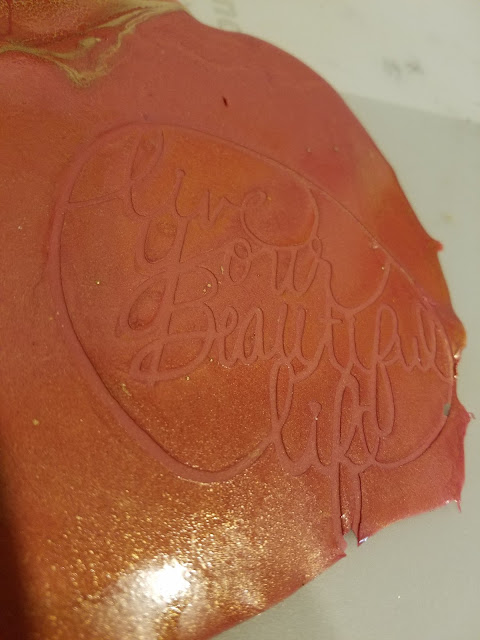
- Once the resin cures, slowly peel the stencil out of the resin.
Check out this AWESOME detail!!!
- If you want to more of the same design you can take a short cut by mixing the two parts of amazing mold putty and using a rolling pin, flatten the mold on the non stick surface.
- Press the resin piece you JUST made into the mold putty. Allow to cure.
- Now you have a mold you can make more!
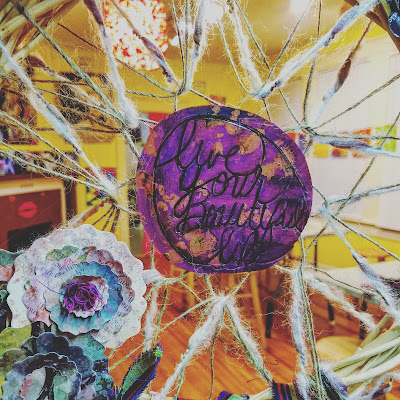
- If you want to bring out the impression then paint a dark color with acrylic paint. You can even use a sharpie to bring out the design.
- You can accent with paint and ink
- Get some twine or yarn, pull out the glue gun and glue the twine with the center pieces until the twine resembles the image above. You are making loops that you can use to attach the center price to the larger hoop.
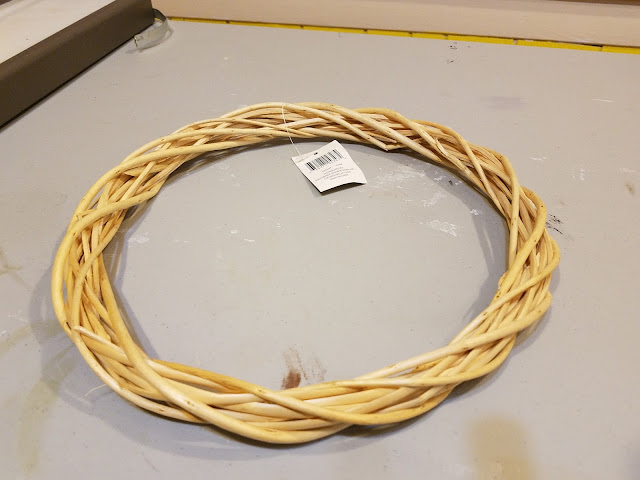
- This dollar store wreath will work perfectly.
- Place the centerpiece face down in the middle and start wrapping the yarn or twine through a centerpiece loop and then around the wreath. Repeat this until have you gone through all the loops.
- I didn't try to make an actual dream catcher pattern.
- It should look something like this.
- I used Eileen Hull's Sizzix Romance Flower Die and the Sizzix Bigz 3-D flowers Die
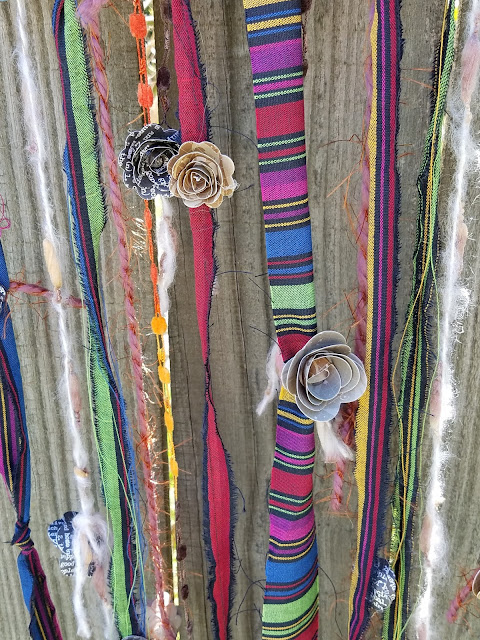
to make paper Flowers. - Tie yarn, ribbon and/or fabric strips to the bottom of the dream catcher for tails.
- Glue paper roses to the dream catcher and the tails.
Tada!!!
One lucky winner will receive both a $25 Gift Certificate to StencilGirl Products AND a $25 Gift Certificate to Amazing Casting Products!
Please take your time and visit each blog showcased and leave a comment. The more blogs you comment on, the more chances you have to WIN!
You have until Sunday, April 23rd at 11:59PM Central Time to leave your comments. Winner will be announced on StencilGirl's Facebook page and also on the Amazing Casting Products’ Facebook page on Monday, April 24th. GOOD LUCK!!
Visit the fabulous designers from both teams and comment
for your chance to win (one comment per blog please).
- Mary Beth Shaw
- Tina Walker
- Kristie Taylor
- Susan Brown
- Lyn Gill
- Gwen Lafleur
- Karen Gaunt
- Tracy Alden
- Brenda Burfeind
- Anna Friesen
- Janet Joehlin
- Maria Chuy Soto
Now Go and Craft your Own Way!!!
Tanya








Comments
~Gin K.~
Jackie ")
new projects.
Your pieces are fantastic
thanks for sharing.
txmlhl(at)yahoo.com